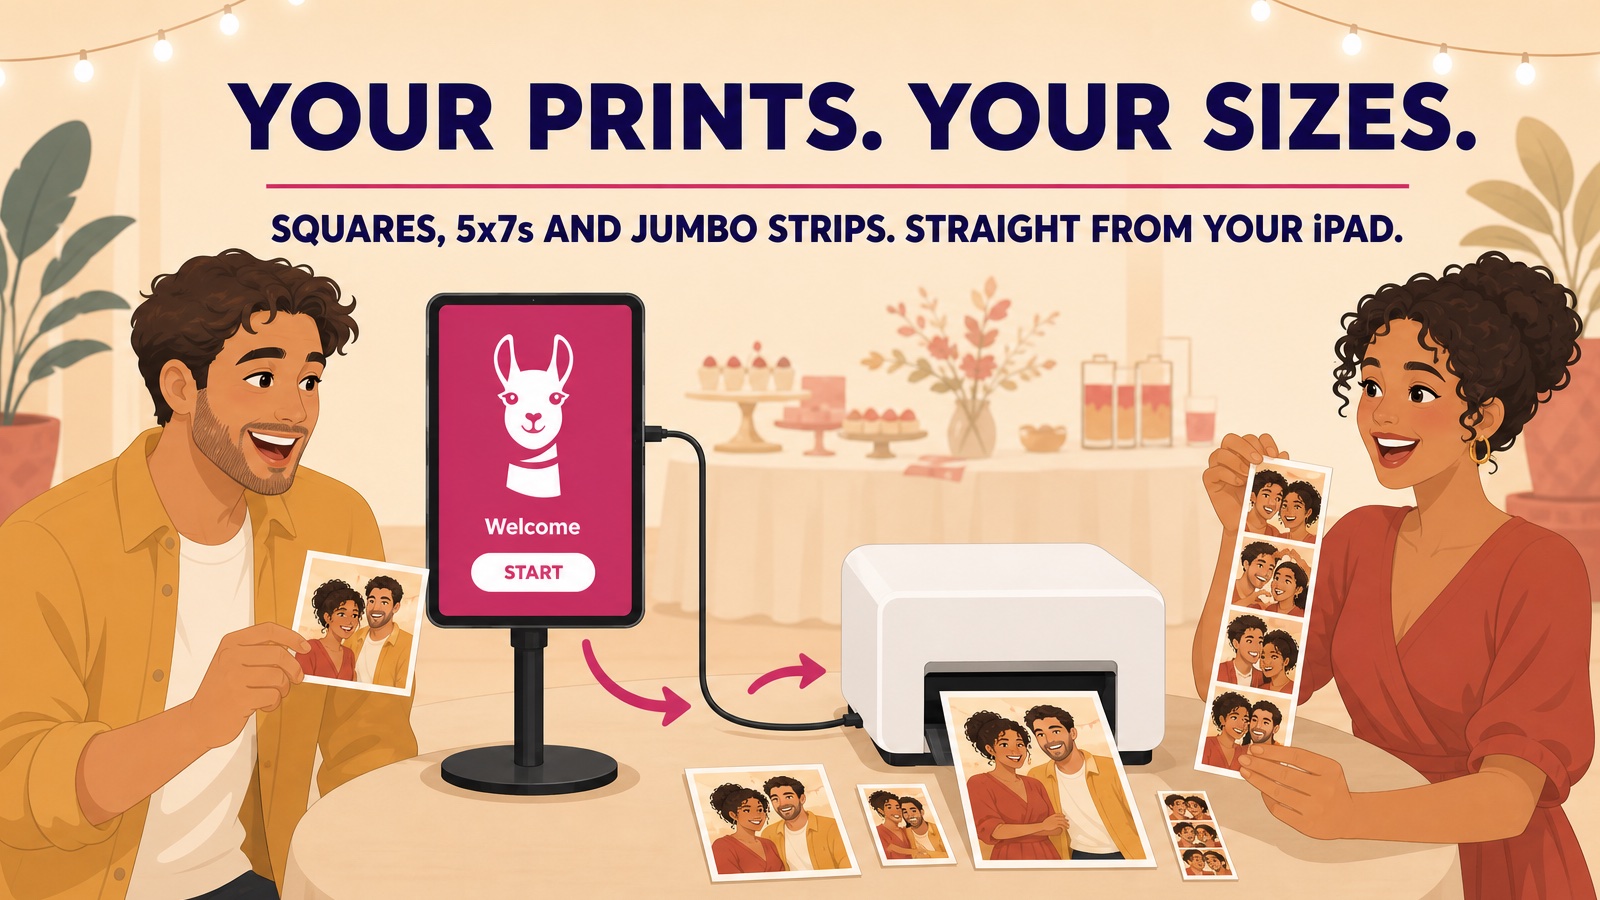
Load a 6×8 ribbon in a DNP DS620 and print 6×6 squares, 5x7s, 4×6 pairs, even 6×20 jumbo strips, all from the same roll. Put 8×12 paper in a DS820 and go up to 8×12 prints and 8×32 panoramas. LumaBooth 5.4.2 for iPad and Mac lets you choose the exact print size for the paper in your DNP, Citizen, or HiTi printer over USB Direct Printing. No guessing from the shape of your template, and no half-empty sheets.
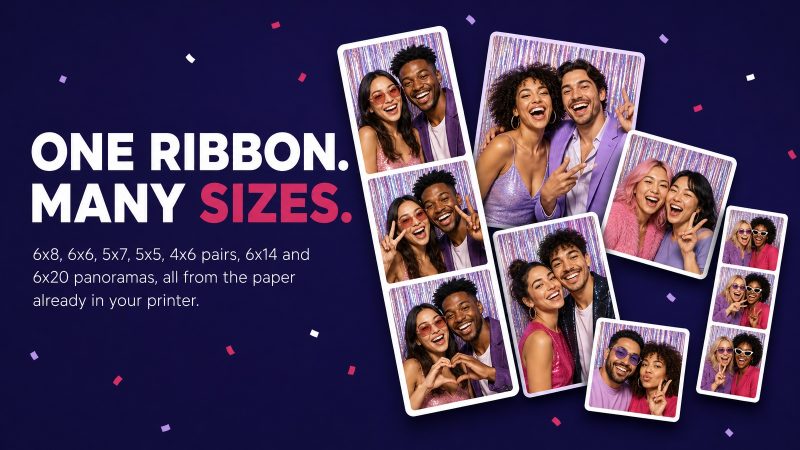
One Ribbon, Many Sizes
Until now, USB Direct Printing looked at your template and picked the closest size it could. That worked for 4×6 and 2×6 strips, but a square layout on a 6×8 ribbon came out with borders, and there was no way to ask for a 5×7.
LumaBooth 5.4.2 asks the printer what its loaded paper can do and hands you the whole list.
6-inch printers. A DNP DS620 or Citizen CX-02 with 6×8 paper offers 6×8, 6×6, 5×7, 5×5, 4×6 pairs and 3.5×5 pairs, plus two panorama sizes, 6×14 and 6×20, that come out as one long continuous print. Swap in a 6×9 ribbon and 6×9 and 4.5×6 join the list. The DS-RX1 and DS40 get the same treatment on their 6×8 paper.
8-inch printers. A DNP DS820 or Citizen CX-02W goes wider. On 8×10 paper you get 8×10, 8×9, 8×8, 8×7, 6×8, 5×8 pairs, 5×7 pairs, 4×8 pairs and 4×6 pairs. On 8×12 paper, 8×12 joins the list and 4×6 and 4×8 print three to a sheet. Panoramas stretch to 8×18 and 8×26 on 8×10 paper, and 8×22 and 8×32 on 8×12, each printed as one continuous piece.
Compact and HiTi printers. The DNP QW410 and Citizen CZ-01 offer 4×6, 4×4.5, 4×4 and 4×3 pairs on 4×6 paper, and up to 4.5×8 on 4.5-inch paper. HiTi P525L and P520L owners get 6×6 and 4×6 alongside the ribbon’s natural size on 6×8 and 6×9 paper.
Pick the Size in Print Setup
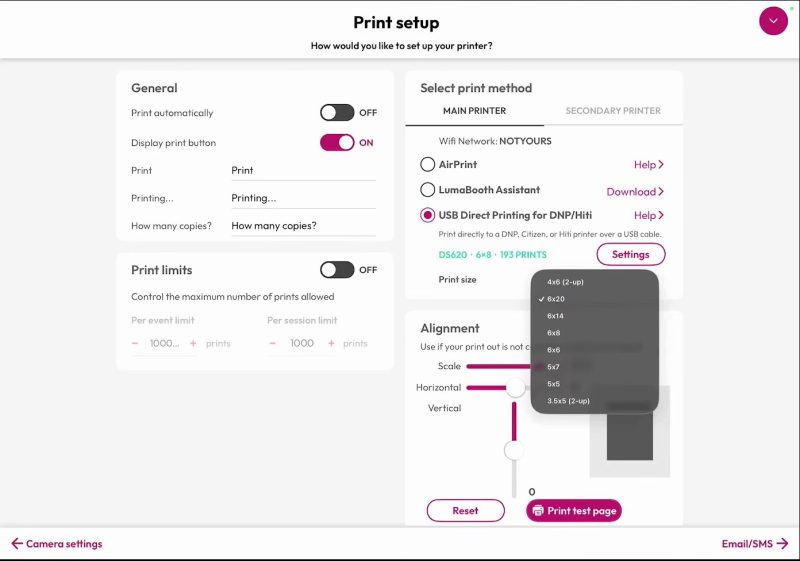
Open Print setup, make sure USB Direct Printing is selected, and tap the new Print size row under your printer’s status line. The list shows every size the loaded paper can print, default first, then largest to smallest.
Pick one and you are done. If the size can be cut, a switch appears below it: Cut into 2×6 strips for a 4×6 on DNP and Citizen printers, or Cut in half for a 5×7 or 6×9 on HiTi. Sizes that cannot be cut do not show a switch at all, so you can never ask the printer for a cut it will refuse. Your choice is saved per printer, so a booth with a DS620 and a spare DS-RX1 remembers a setting for each.
Design the Layout to Match
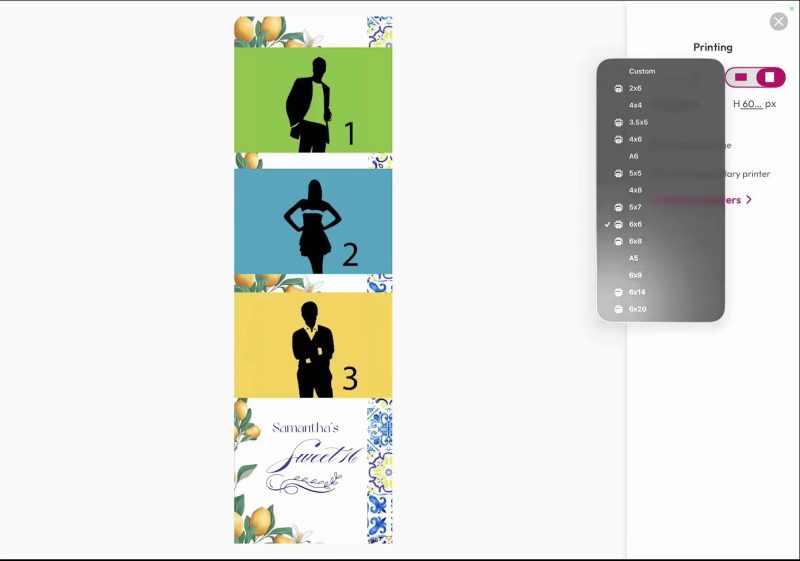
Whatever you pick in Print setup is what comes out of the printer, so the photo layout editor now knows about your printer too. Tap the paper size in the layout’s Printing panel and you get one list, sorted small to large, with a printer icon next to every size your connected printer can print. Choose the same size in both places and the template is built at the exact print dimensions, edge to edge.
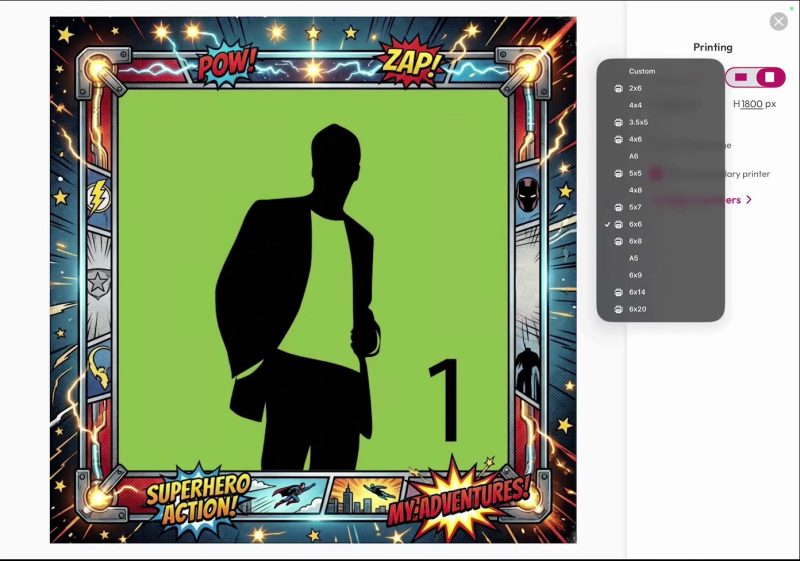
That is how the 6×20 jumbo strip in the video happens: a three-photo strip template at 1800 by 6000 pixels, printed in one pass on a DS620 with ordinary 6×8 paper.
Two-Up Sizes Fill the Sheet
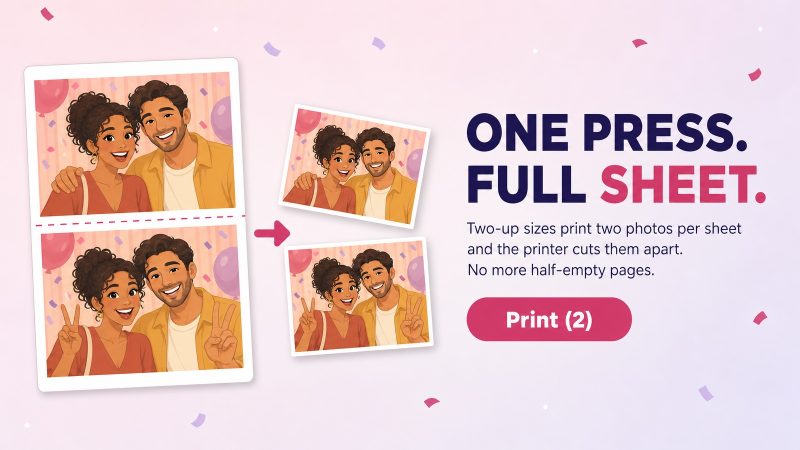
When a size is labelled 2-up, one press now fills the whole sheet. One copy prints two photos and the printer cuts them apart, and an odd number of copies rounds up to whole sheets. The print button and the guest copies screen both show how many prints are coming, and the test page button reads Print test page (2) so there are no surprises at the tray.
Fewer Surprises, Better Colors
The rest of LumaBooth 5.4.2 clears the small things that used to interrupt a print run.
- Prints composed smaller than the loaded ribbon no longer come out with white borders.
- Sizes your printer’s firmware cannot handle are hidden, so you never pick one that ends in a firmware message.
- The Cut into 2×6 strips switch only appears when the paper actually in the printer can be strip-cut.
- The SwiftFoto KSF-10R joins the supported HiTi printers.
- HiTi prints on older ribbon batches now show accurate colors instead of a warm cast, and when a HiTi printer refuses a job, LumaBooth explains what to do in plain language.
- The USB Direct Printing settings are now translated into German, Spanish, French, Italian, and Portuguese.
Ready to Print
Custom print sizes are available now in LumaBooth 5.4.2 for iPad and Mac. USB Direct Printing needs an Apple silicon iPad (M1 or later) or a Mac. Update from the App Store, open Print setup, and tap Print size to see what your ribbon can do.
For the full list of sizes by printer and paper, and the setup steps with screenshots, see Print Sizes for USB Direct Printing on our support site.